Hardness testing is a crucial process in manufacturing, quality control, research, and product development. Whether you’re working in metal fabrication, plastics, automotive, or electronics, using a hardness tester ensures your materials meet the required standards for durability and performance. However, even experienced technicians sometimes make avoidable mistakes that can affect accuracy, reliability, and consistency.
In this article, we’ll break down common mistakes to avoid when using a hardness tester—and share tips to ensure you get the most accurate readings every time.
1. Not Calibrating the Hardness Tester Regularly
One of the biggest mistakes people make is assuming that a hardness tester stays accurate forever. Over time, wear and tear, environmental factors, and repeated use can cause your tester to drift out of calibration.
Why it matters:
If your tester isn’t calibrated, even small measurement errors can cause major quality issues—especially if you’re testing materials for safety-critical industries like aerospace or automotive.
How to avoid it:
-
Follow the manufacturer’s calibration schedule (often every 6–12 months).
-
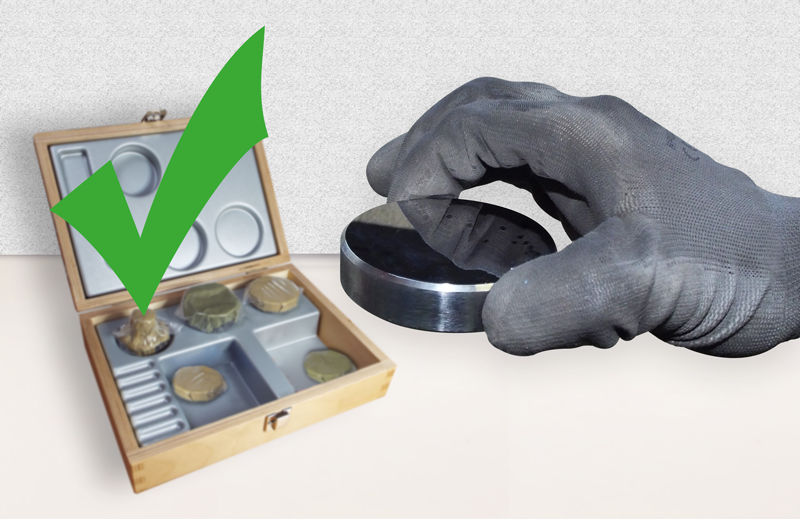
Use certified test blocks to check accuracy before running important tests.
-
Keep a calibration log for traceability.
2. Ignoring Environmental Conditions
Hardness tester in Toronto, ON are sensitive instruments, and their accuracy can be influenced by the environment. Temperature fluctuations, vibrations, and even dust can impact results.
Why it matters:
If your testing lab is too hot, too cold, or full of vibrations from nearby machinery, your readings might be off—no matter how careful you are.
How to avoid it:
-
Place the tester on a stable, vibration-free surface.
-
Maintain a consistent room temperature, ideally within the range recommended by the manufacturer.
-
Keep the area clean and free from dust or debris.
3. Testing on an Improperly Prepared Surface
Another common mistake is testing materials without preparing the surface properly. Rough, uneven, or dirty surfaces can lead to false readings.
Why it matters:
A hardness tester works by measuring indentation depth or resistance. If the surface has paint, rust, oil, or rough machining marks, it can affect how the indenter interacts with the material.
How to avoid it:
-
Ensure the surface is flat, clean, and smooth.
-
Remove coatings, debris, or corrosion before testing.
-
If you’re testing soft materials, be careful not to damage the sample while preparing it.
4. Using the Wrong Test Scale or Method
Different materials require different testing scales—like Rockwell, Brinell, Vickers, or Shore. Choosing the wrong scale can lead to inaccurate or non-comparable results.
Why it matters:
For example, using the Rockwell C scale (meant for hardened steel) on a soft plastic will give unreliable results.
How to avoid it:
-
Understand your material’s hardness range before testing.
-
Refer to industry standards (ASTM, ISO) for the correct method.
-
Train operators on when to use each scale.
5. Applying Incorrect Test Load or Force
A hardness tester’s load must match the test method. Applying too much or too little force can skew the measurement.
Why it matters:
Too much force can cause excessive indentation, damaging the sample. Too little force may not penetrate enough to measure accurately.
How to avoid it:
-
Always set the correct test load for your chosen scale.
-
Double-check settings before starting a test.
-
If using a manual tester, apply the load steadily and without jerking.
6. Testing Too Close to the Edge or Another Indentation
Spacing matters. Performing a hardness test too close to the material’s edge or an existing indentation can distort results.
Why it matters:
Edges don’t provide uniform support for the indenter, and previous indentations can alter material properties around them.
How to avoid it:
-
Keep at least three times the indentation diameter away from edges and other tests.
-
Plan your test layout before starting.
7. Not Accounting for Material Thickness
Some hardness testers require a minimum material thickness to deliver accurate results. Testing a thin sample without support can lead to false readings.
Why it matters:
If the sample is too thin, the indentation can reach through the material or be influenced by the backing surface.
How to avoid it:
-
Follow the minimum thickness guidelines for your chosen method.
-
Use proper support fixtures for thin materials.
8. Skipping Operator Training
Even with modern, fully automatic testers, operator skill plays a big role in measurement accuracy. Poor training can lead to mistakes in setup, scale selection, or sample preparation.
Why it matters:
Two technicians using the same machine can get different results if one isn’t following proper procedures.
How to avoid it:
-
Invest in regular training sessions.
-
Create a standard operating procedure (SOP) for all hardness testing.
-
Audit operator technique periodically.
9. Ignoring Machine Maintenance
Just like any precision instrument, hardness testers need maintenance. Neglecting this can shorten the lifespan of your machine and affect performance.
Why it matters:
A worn indenter, loose components, or contaminated parts can all impact test accuracy.
How to avoid it:
-
Follow the manufacturer’s maintenance guidelines.
-
Replace indenters and anvils as needed.
-
Keep the machine clean and lubricated where required.
10. Not Recording and Reviewing Test Data
Sometimes, companies focus on just getting a reading but forget to properly record and analyze results.
Why it matters:
Without proper documentation, it’s impossible to track quality trends, detect problems early, or prove compliance to clients.
How to avoid it:
-
Use hardness testers with built-in data logging, if possible.
-
Store results in a central database for easy retrieval.
-
Review historical data regularly to spot anomalies.
Final Thoughts
A hardness tester is only as accurate as the way it’s used. By avoiding these common mistakes—like skipping calibration, using the wrong scale, or neglecting surface preparation—you can ensure your results are consistent and reliable.
Whether you’re testing metals, plastics, elastomers, or composites, proper technique and maintenance are key to getting the most out of your equipment.
Looking for the Best Hardness Tester in Toronto, ON, Canada?
If your business is in Toronto and you want a high-quality hardness tester that delivers reliable, repeatable results, we recommend checking out the precision testing solutions available at York Testing Solutions. They offer a wide range of hardness testers—from Rockwell to Brinell, Vickers, and Shore—backed by expert support, calibration services, and training.
With their help, you’ll not only get the right machine for your application but also the guidance to use it effectively—so you can avoid the costly mistakes we’ve covered above.
Contact York Testing Solutions today to learn more about the best hardness tester for your needs in Toronto.